Customer Support

+251-943-00-00-07

Email Us

info@Yegnatradingethiopia.com

Rapid Hardening Cement – All You Need to Know

Cement plays a crucial role in determining the strength and durability of various structures in construction. Among the different types of cement available, rapid hardening cement stands out due to its unique property of gaining strength faster than other types of cement. This property makes it ideal for projects that require early completion and immediate load-bearing. However, it is important to understand the composition, properties, and applications of rapid hardening cement to use it for the right project. We uncover these aspects in this blog.

What is Rapid Hardening Cement? 

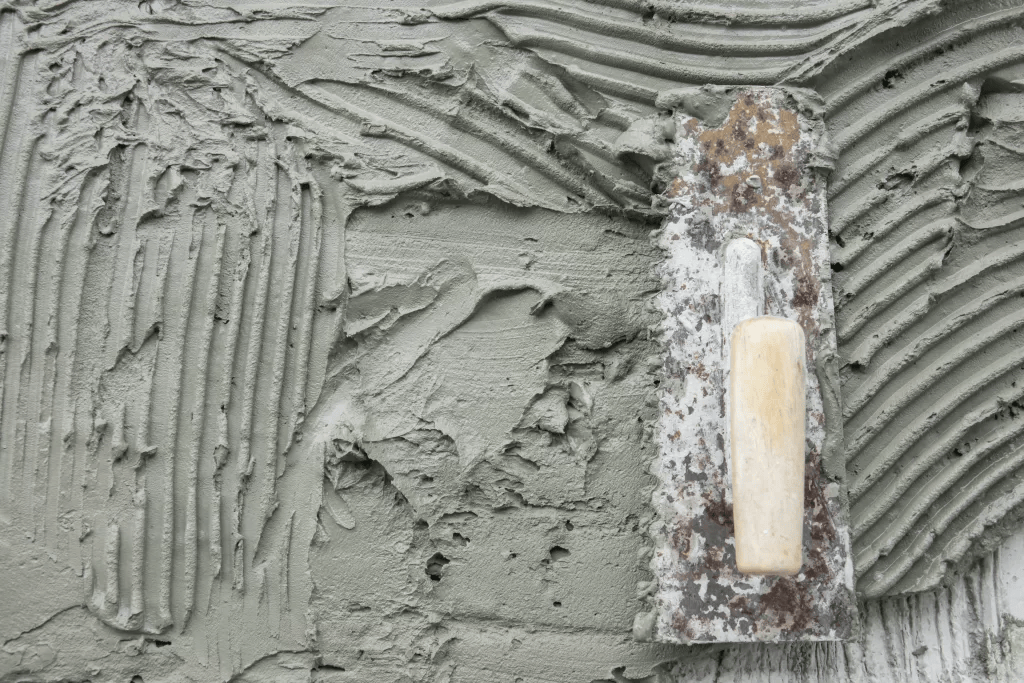
Rapid hardening cement is a type of grey cement designed to achieve high early strength, which makes it suitable for quick construction projects. Unlike ordinary concrete cement, which takes longer to gain strength, rapid hardening cement achieves similar compressive strength in a much shorter time. This feature is achieved through modifications in the cement’s composition, which also enhances its durability and resistance. Construction projects, where time is of the essence, for example – road repairs, precast concrete, or emergency repairs benefit from this type of cement.

Composition of Rapid Hardening Cement

Rapid hardening cement contains specific ingredients that enhance its early strength and durability. They include:

High Tricalcium Silicate (C3S):

Approximately 60% of C3S promotes faster hydration and allows the cement to achieve high early strength within a short time.

Lower Dicalcium Silicate (C2S):

At around 15%, the reduced amount of C2S contributes to long-term strength but less to early-stage development. It balances out the rapid strength of C3S.

Tricalcium Aluminate (C3A):

Comprising about 10% of the total weight, C3A aids in early setting and contributes to strength gain over time.

Tetra calcium Alumino-Ferrite:

Making up around 8%, this component enhances the cement’s overall performance and stability.

Properties of Rapid Hardening Cement 

These properties of rapid hardening cement make it stand out in time-sensitive construction projects:

High Early Strength

Rapid hardening cement can reach a compressive strength of 25 MPa in just 24 hours, compared to ordinary cement which takes up to three days to achieve similar strength.

Reduced Shrinkage

The modified composition of rapid hardening cement ensures lower shrinkage rates. This leads to more stable structures with minimum cracking.

Durability

Rapid hardening cement is highly durable and you can buy this water-resistance cement for large-scale projects to gain long-lasting performance that lasts years to come.

Cold Weather Suitability

This cement performs well in cold weather conditions, as the rapid setting time mitigates the negative effects of low temperatures during curing.

Finer Grinding

Rapid hardening cement undergoes a finer grinding process. This increases the surface level of the cement particles, which accelerates hydration and leads to a quicker setting time.

Uses of Rapid Hardening Cement

Due to its unique properties, rapid hardening cement is used in projects where early strength is crucial. Some of the common uses of rapid hardening cement are:

  • Precast concrete products such as beams, slabs, and pipes.
  • Pavements and highways to reduce the time for traffic interruptions.
  • Emergency repairs in buildings, bridges, or highways to minimise downtime.
  • Concreting projects in colder regions for faster setting, where standard concrete cement may take too long.
  • Waterproofing structures as rapid hardening cement develops early strength gain.

Pros and Cons of Using Rapid Hardening Cement

Some of the pros and cons of using rapid hardening cement are as under:

Pros

  • Early strength development reduces project timelines significantly.
  • Since the cement sets quickly, you can remove the formwork sooner, which improves efficiency.
  • Ideal for large infrastructure projects that require longevity and strength.

Cons

  • More expensive than ordinary cement due to its quick setting and early strength
  • It requires skilled labour to ensure proper application due to its rapid setting time.
  • Rapid hardening can lead to high heat generation, which may require additional care during the curing process.

Conclusion

Rapid hardening cement is a game-changer for time-sensitive construction projects. It serves as an invaluable resource in situations that demand quick turnarounds, such as road repairs or precast concrete. However, like any material, it has its share of pros and cons. You should carefully consider the rapid hardening cement uses based on the specific requirements of the project. While it may come at a higher cost, the advantages of time-saving and durability often outweigh the initial expense. Hence, it is a reliable choice. Ensure to get it from a trustworthy cement company to enhance the reliability.

For more details, please visit https://www.jkcement.com/blog/basics-of-cement/what-is-rapid-hardening-cement/
How to Bend Plywood: A Comprehensive Guide

Whether you are a seasoned carpenter with years of experience under your belt, or a do-it-yourself enthusiast who enjoys tinkering and creating in your spare time, you might find yourself facing a particular challenge. You might be staring at a piece of plywood and wondering, “Can you bend plywood?” It’s a question that may seem daunting, but the answer is a resounding, unequivocal yes. Bending plywood is indeed possible, and not only is it possible, but it can also be accomplished with relative ease once you understand the process. In this comprehensive guide, we will take you through the steps, providing you with the necessary knowledge and techniques. We’ll show you the ropes, ensuring you are well-equipped to tackle this task head-on.

Can You Bend Plywood?

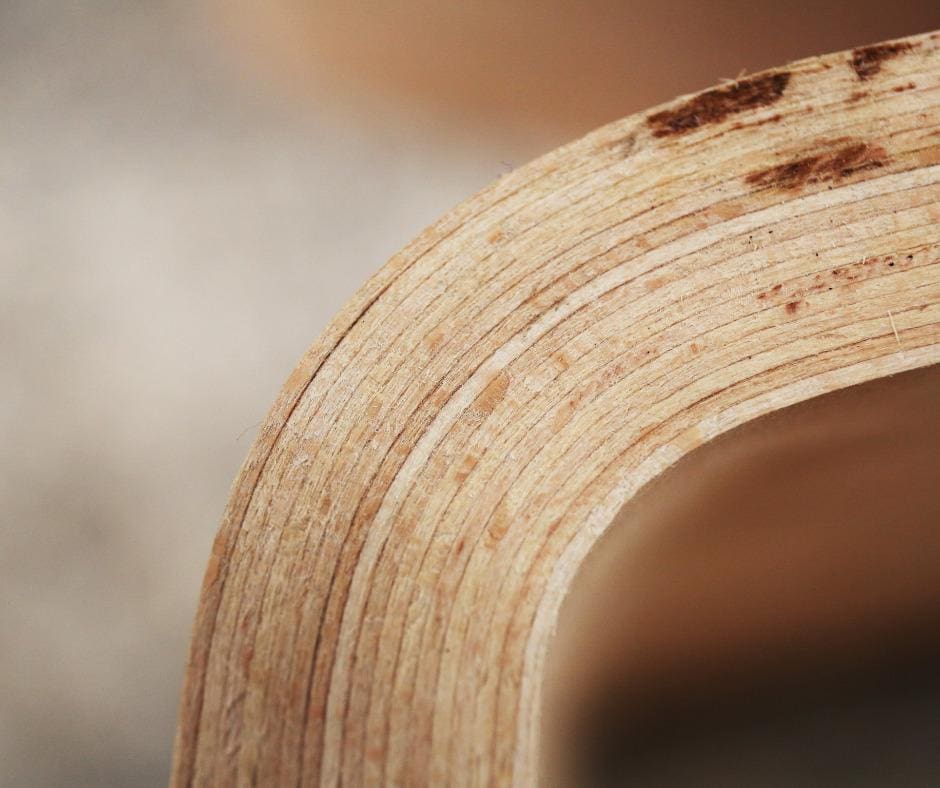
Absolutely, you can! Plywood, a commonly utilized material in various industries such as construction and furniture making, is widely recognized for its exceptional durability and versatility. It is a composite material, made from several layers of wood glued together, which contribute to its strength and resilience. One of its standout qualities is its remarkable ability to bend without breaking. This, coupled with its relatively lightweight nature, makes it an ideal choice for numerous applications. This flexibility allows for an extensive range of design possibilities, offering creative freedom to architects, designers, and craftsmen alike. Hence, plywood is not only functional and practical but also adaptable to various forms and shapes, thereby redefining the boundaries of design and construction.

Bending Plywood Sheet: A Step-by-Step Guide

The task of bending a plywood sheet might initially seem daunting, but it’s not as complex as you might think. With appropriate tools and a bit of patient dedication, you can successfully manipulate this flat, rigid material to take on a curved shape. This woodworking technique allows you to create a wide array of shapes and designs, transforming an ordinary plywood sheet into a curved masterpiece. Whether you’re a seasoned carpenter or a novice DIY enthusiast, you’ll find this process both interesting and rewarding.

How to Curve Plywood: Techniques and Tips

The process of curving plywood involves a technique that’s commonly known as kerf-cutting. This technique involves making a series of carefully measured and spaced cuts in the plywood, which subsequently allows it to bend and curve. While the concept of this process might be straightforward, it requires a considerable amount of precision and care to execute it successfully. This is primarily because the quality of the outcome is heavily dependent on the accuracy of the cuts that are made. Therefore, even though it might appear simple, kerf-cutting is a process that demands both attention and precision.

Bending Birch Plywood: What You Need to Know

Birch plywood, a product well-known for its remarkable strength and flexibility, is a highly preferred choice for applications that involve bending. Despite being a type of plywood, it demonstrates unique characteristics that set it apart from its counterparts. As a result, working with birch plywood necessitates a slightly different approach, a departure from the techniques typically used with other variants of plywood.

Bending Thin Plywood: A Delicate Art

Bending thin plywood can sometimes pose a unique challenge due to the risk of causing damage to the material. It can be especially difficult to achieve a curve without cracking or breaking the wood. However, with careful handling and the application of the appropriate techniques, you can successfully bend thin plywood. It is indeed more than possible to achieve a smooth, elegant curve. This helps open up a world of design possibilities, allowing you to create intricate shapes and structures with this versatile material.

How to Bend Plywood Without Breaking It: Essential Tips

The crucial strategy in bending plywood without causing any breakage is predominantly anchored in a well-executed preparation process. This involves several steps that must be adhered to meticulously. Initially, one must pre-soften the plywood; this step is essential as it prepares the material for the subsequent procedures and ensures its ductility. Following this, it is necessary to make precise and accurate cuts on the plywood. These cuts must be carefully planned and executed to avoid any potential damage or undesired results. Lastly, the use of a form to guide the bending process is integral. This tool serves as a guide and ensures the bend aligns with the intended design. By adhering to these guidelines, one can ensure a successful result in the task of bending plywood.

Conclusion

Always bear in mind that the most critical aspects you need to consider when bending plywood are the specific type of plywood you have chosen to work with, the precise technique you employ to bend it, and the diligent care you exercise to avoid any potential damage to the material. By giving due attention to these factors, you’re well on the path to truly mastering the intricate and highly skilled art of bending plywood.

Bending plywood is indeed an art that demands a great deal of patience, a high level of precision, and a sprinkle of creativity. Regardless of whether your project is to construct a skateboard ramp that will stand up to the tests of time and use, design a uniquely curved cabinet that will be the centerpiece of a room, or produce a striking piece of modern art that will captivate viewers, the spectrum of possibilities you can explore and achieve with bent plywood is virtually limitless.

For more details, please visit https://alvibel.pl/en/how-to-bend-plywood/#

What’s your Rebar Cutter?

Cutting rebar can be easy or hard. It all depends on how you go about it and how much money you have to spend on equipment. Your investment in a rebar cutter tool will be paid back by savings in labor. The more rebar you have to cut, the more you can justify spending on a rebar cutting tool. In the end the tool has to make you money otherwise it is not worth it.

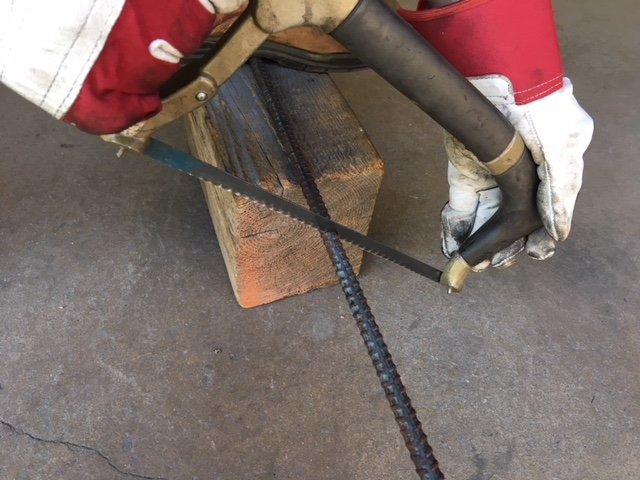
If you only have a couple of smaller diameter bars to cut you can always bring out the trusty hack saw. Saw through about half way and then break it apart by stepping on it and pulling up. This method of cutting rebar will get old really fast if you have any quantity of bars to cut or if you need to cut bars larger than around #5 (5/8” diameter) rebar.

The next step up from a hack saw is a chop saw. Cutting rebar with a chop saw throws sparks and smoke which can be a fire safety hazard. Abrasive cutting wheels are expensive and the cost per cut compared with other methods is high.

An acetylene torch also throws sparks and smoke. The time it takes to cut with a torch plus the cost of gas makes this one of the most expensive ways to cut rebar. On top of that most inspectors will not allow torch cuts because heat changes the mechanical properties of steel rebar.

A manual lever type rebar cutter is an economical way to cut rebar without throwing sparks because it simply shears the bar. They are outfitted with special hardened cutting blades that can make several thousands of cuts before they need to be replaced. #5 (5/8” diameter) rebar is about the limit for cutting manually. Anything larger just takes too much force. These cutters are often called “arm-strong” cutters because whoever ends up on the lever end must be strong and/or have a plenty of weight to put behind them if a lot of rebar needs to be cut.

Once you have had your fill of pulling down on the lever of a manual cutter it is time to consider investing in an electric hydraulic rebar cutter. Sizes range from small handheld units to portable bench-top models and all the way up to commercial automated shear lines.

For maximum flexibility you can even get models that combine a rebar bender with a rebar cutter into one small portable unit. Some have handles so two people can pick them up and carry them and they plug into standard 110-volts. This gives you the ability to take the machine out to the job site if needed.

Working with rebar is notoriously hard on equipment so selecting a strong durable machine is important if it is to last. Choose one that has relatively few moving parts and is easy to maintain and lubricate. Rebar cutters that turn on and off every time you make a cut are usually powered by a brush type motor. Brushes wear out in time so they need to be checked periodically whereas cutters that run continuously do not have that problem.

If you have to cut rebar regularly and/or your jobs require larger diameter rebar, it makes sense to invest in an electric hydraulic rebar cutter. It will pay for itself and increase your profits faster than you think.